View SitePad Prices
SitePad quick tips.
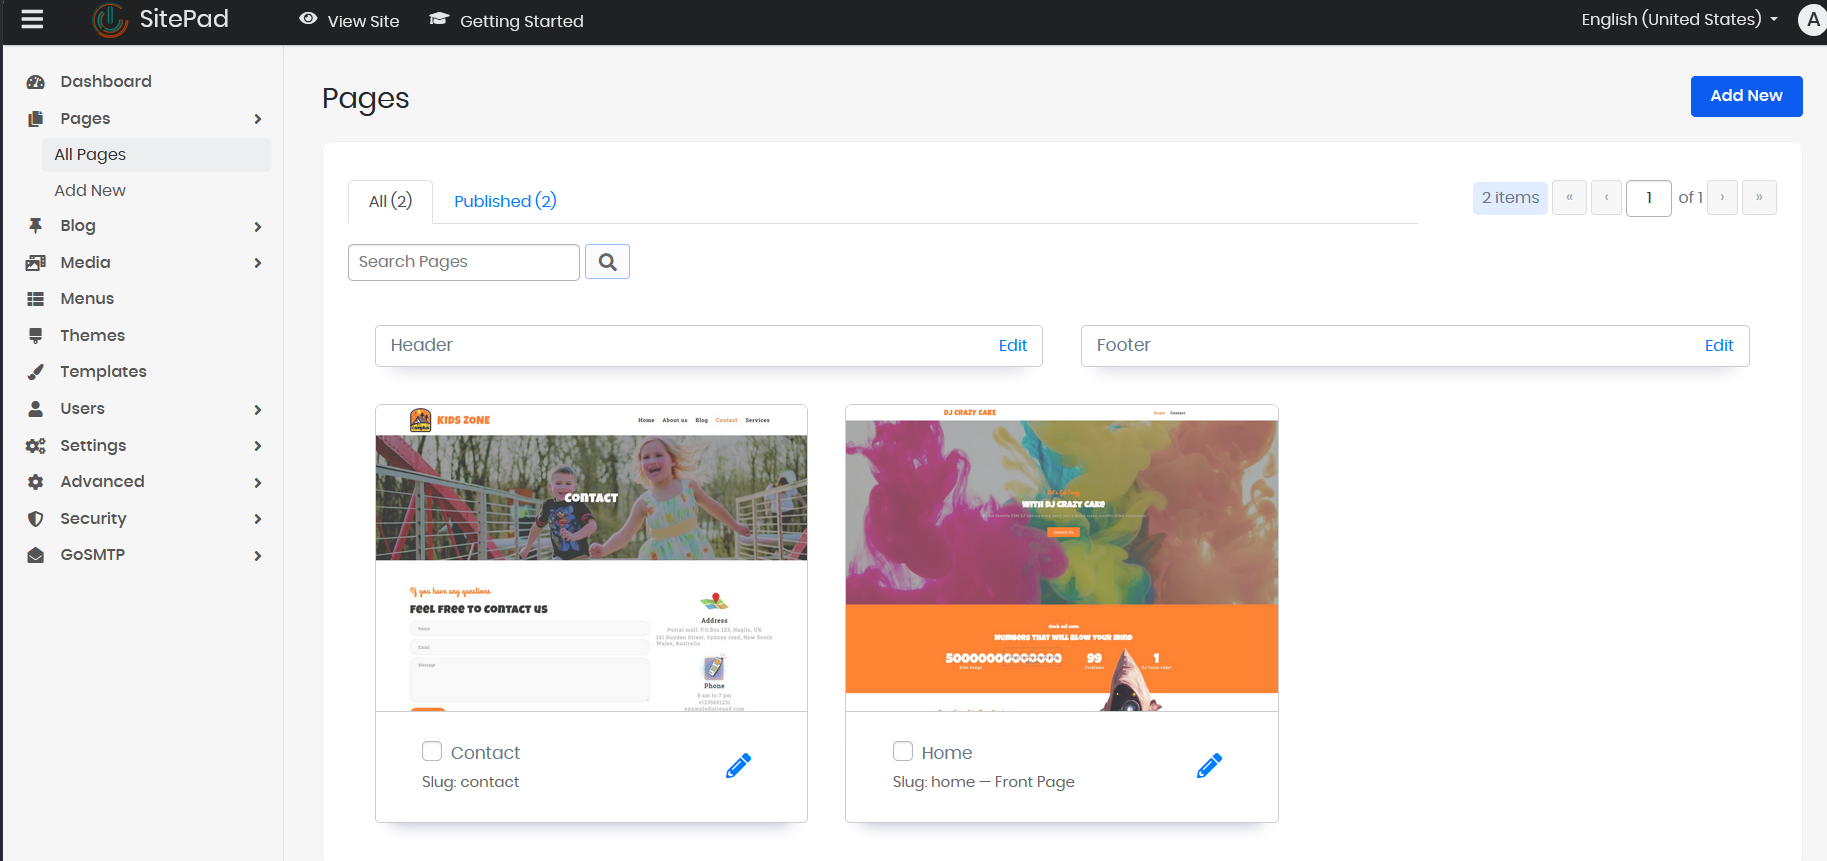
1. Once the set up is done you'll one to fine tune things. This is done from the pages section. In fact most of everything is done in this section. You can change the header, footer, the main page and any added pages.
2. Short cuts are in the left panel when you first login. My favorite is the Settings > Editor Settings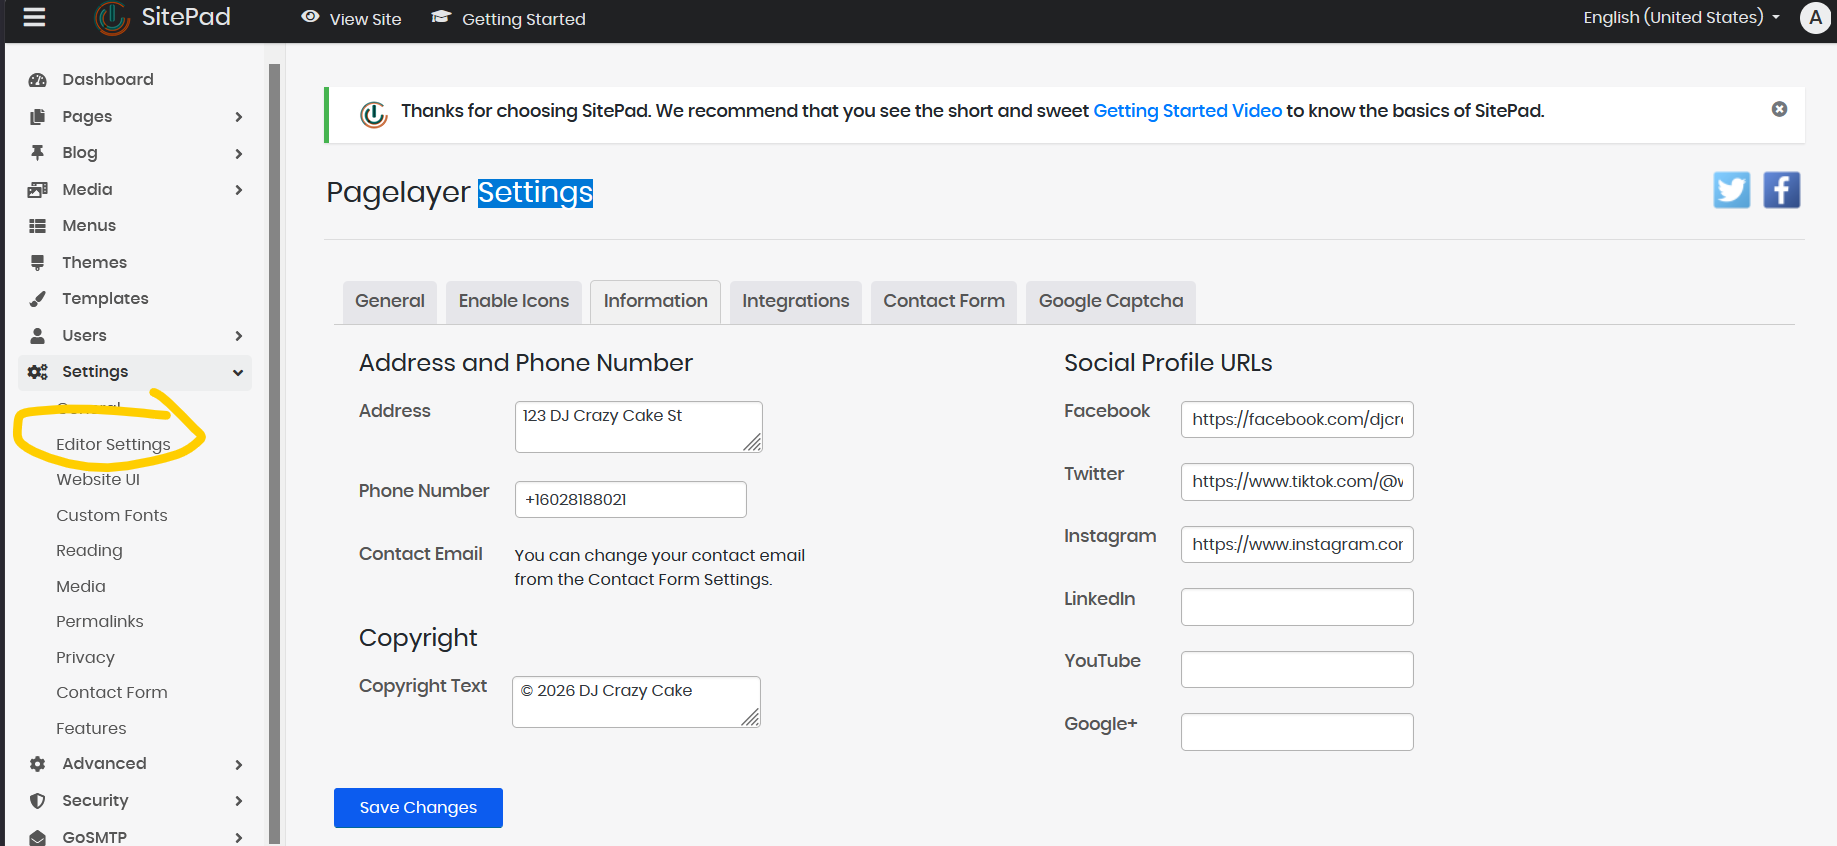
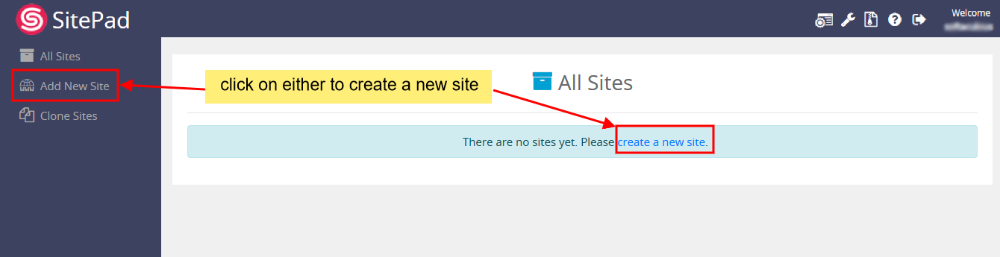
Creating a New SitePad Website
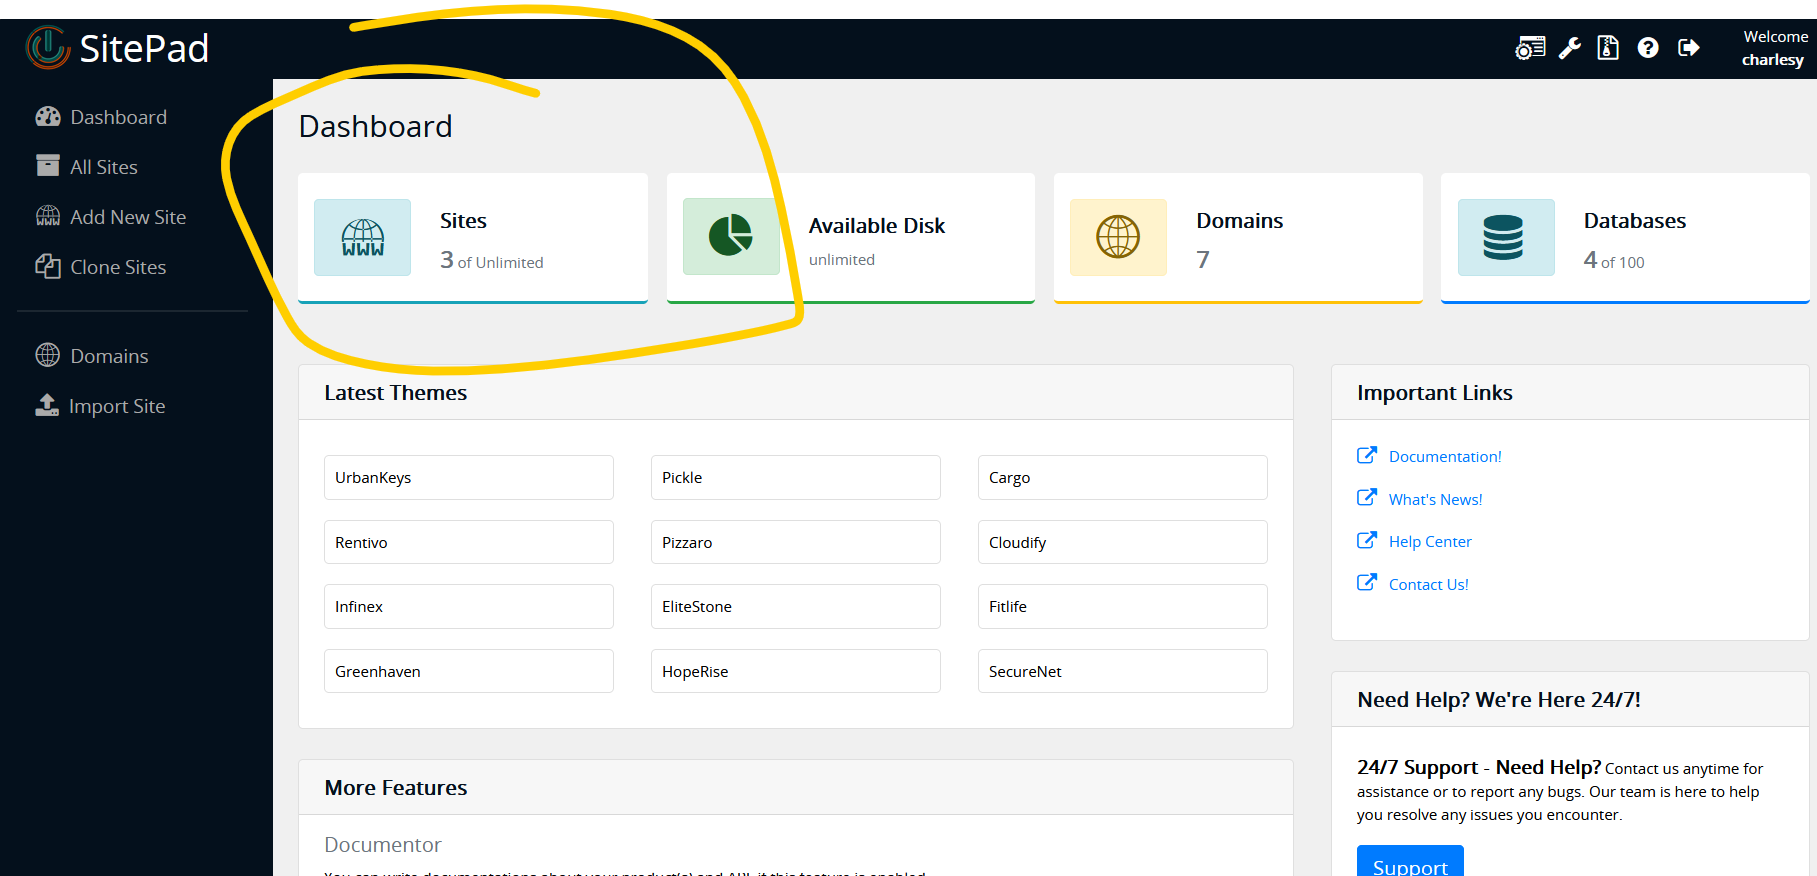
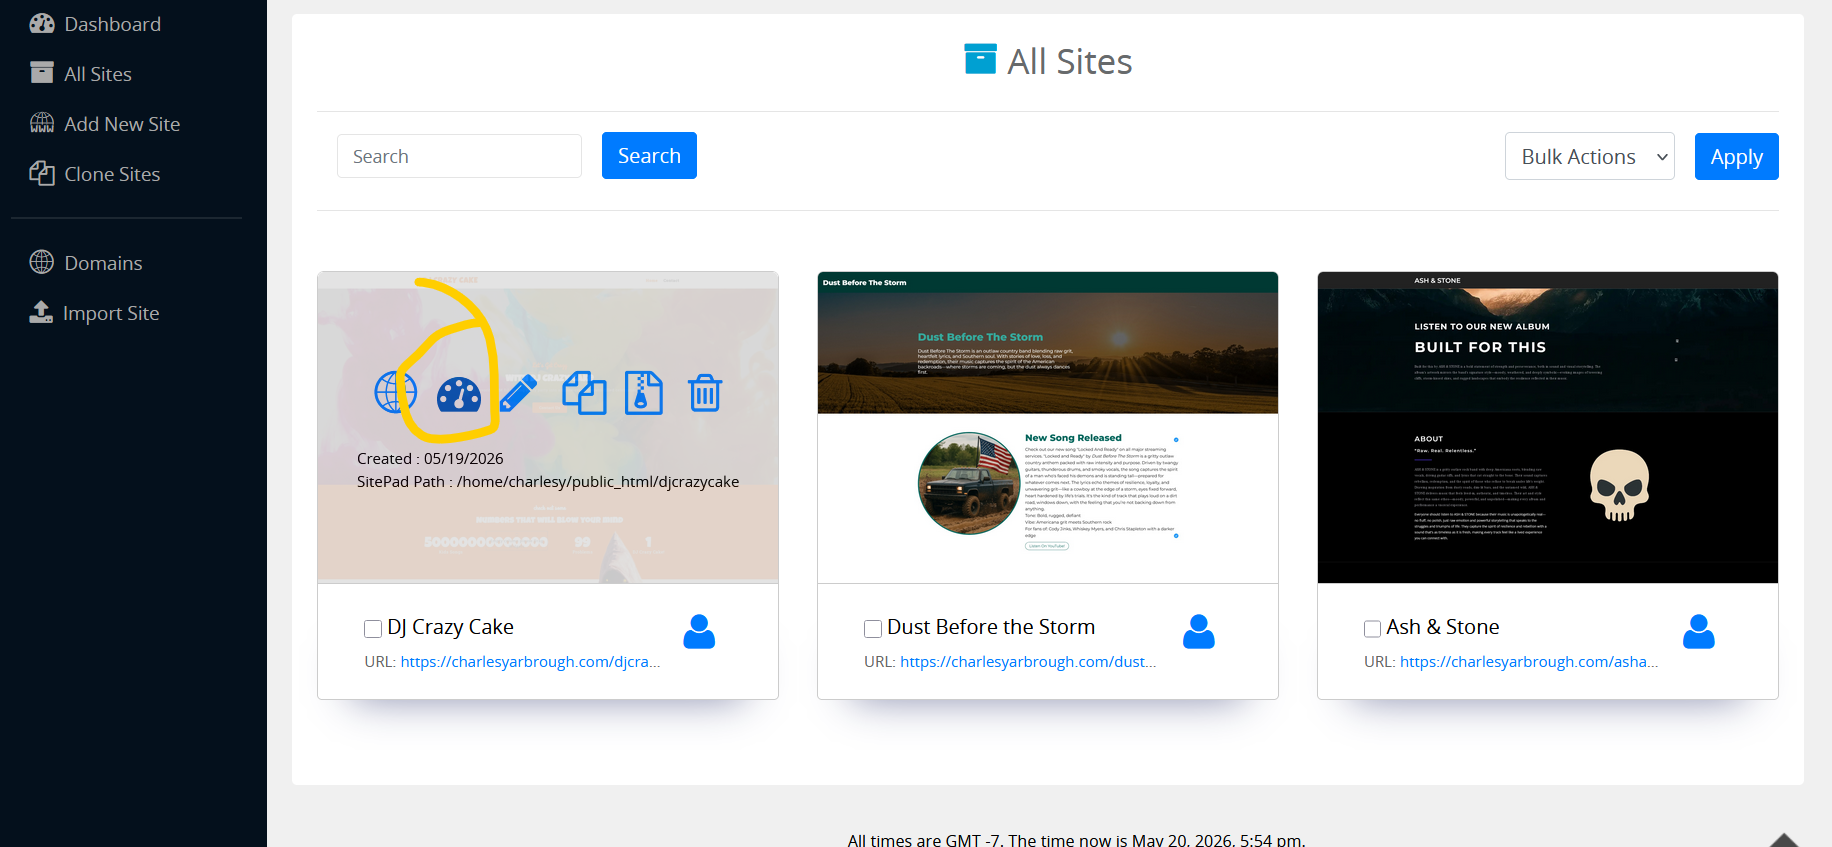
Once, you are redirected to SitePad Website Manager. You will need to create a new site.
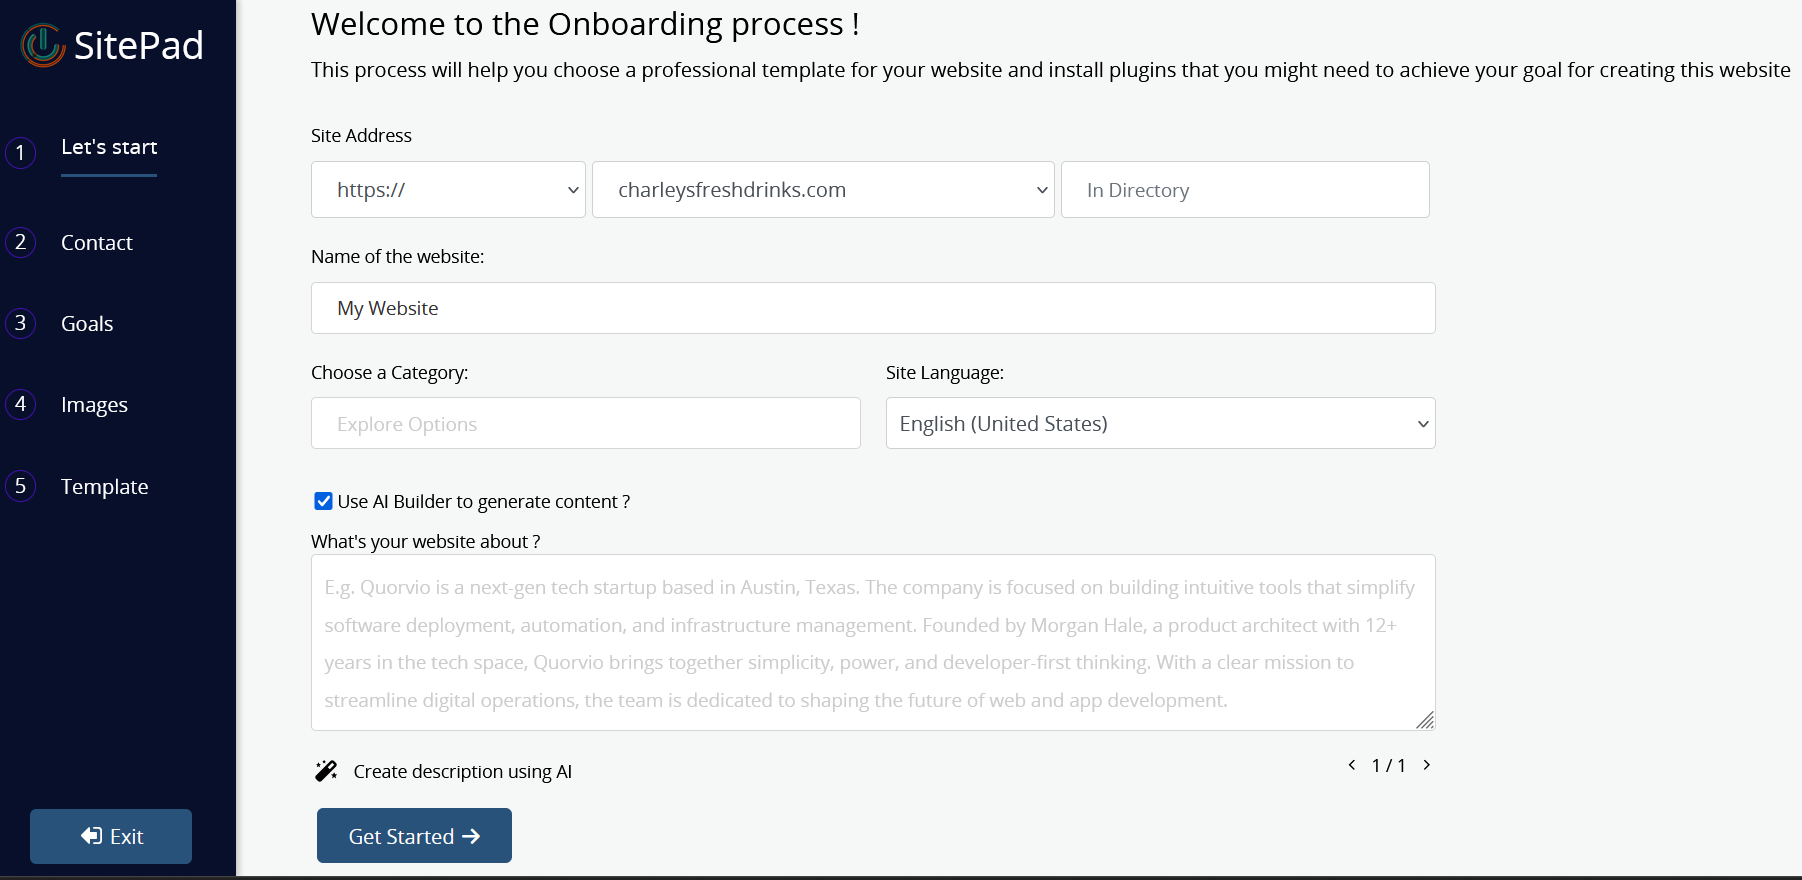
The new AI option takes information it will use to build the website,
Now you will need to select/choose a theme for your website. You can also search for a theme through Theme Search Option. Checkout Theme details. Once you find a theme suitable for your website, you can click on the Select button to set the theme as a default theme for your Website Editing.
In the details level, you need to fill the site details as well as you can enter the social media URLs, all these details will be replaced with the dummy details of the theme you choose. After filling all these details, you need to click on the "Proceed with Install" button to proceed to the last level.
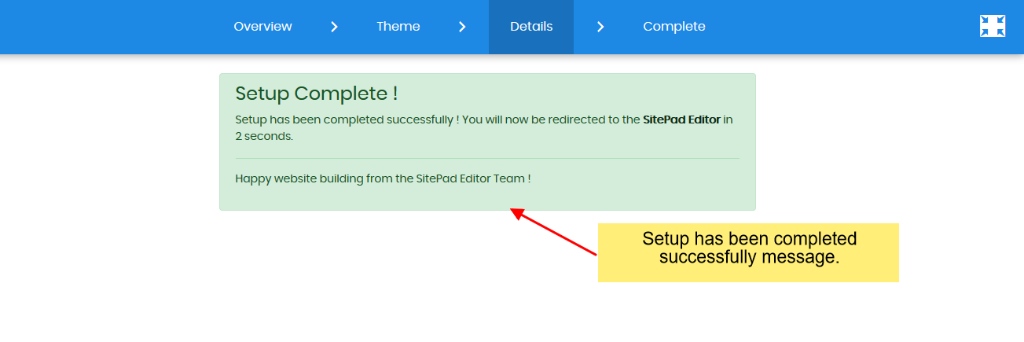
Finally, you have successfully set up the site, This is the last level of the entire setup process. Once you hit this level, you will be automatically redirected to the "SitePad Editor" within 5 seconds.
Adding/Editing Pages
You can now add new pages or Edit pages for your website.
Click on Pages option to select "Add Page" or "All Pages". When you select All Pages you can see certain options such as Edit Page, Delete Page, View Page, etc.
If you Select the Add New Page/Edit Page option. Then you will be redirected to Edit Page where you can Edit the Page. If you select to add new Page, the page title will be New Page and Page URL will be Page and Post Status will be draft. You can change all the (like Page name and URL) as per your wish and to publish your post, you need to change the status of the post from the draft. By default, the new page gets Added on the Menu Bar once you update the Menu Name changes to that of the Page Title.
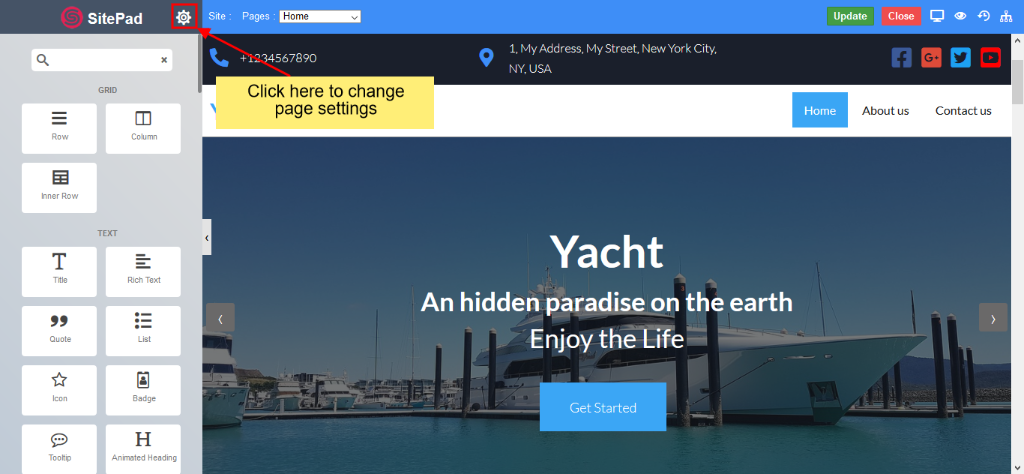
Click on Settings Icon to update Page settings.

You will find options such as
- Add/Update Page Name
- Add/Update Page URL
- Add/Update Page status
- Add/Update Feature Image
You can also drag and drop different Widgets where ever you want to see the elements. There are many different Widgets like Title, Paragraph, Slider, Service Box, Rich Text, Images, Videos, etc.
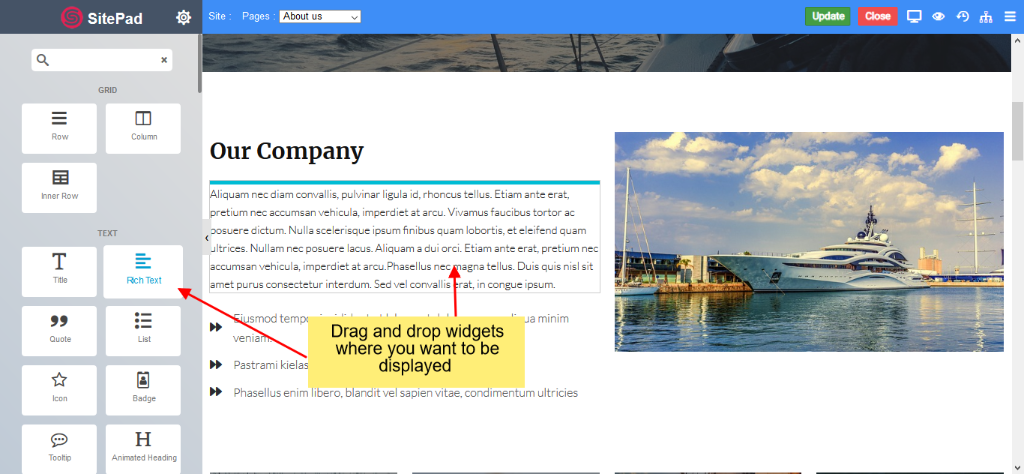
When the item is dropped on a particular position, to edit you will be able to see properties bar, Advance Option to Customize, etc. for different types of Widgets.
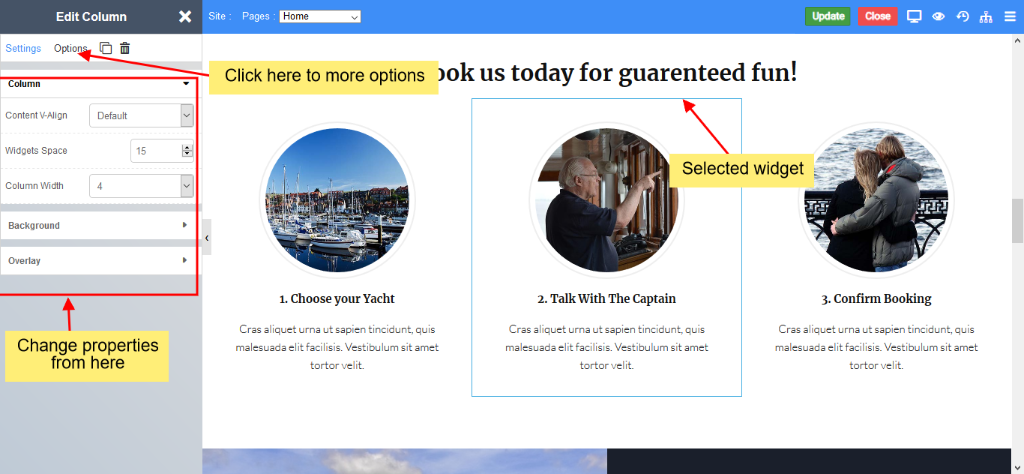
Property Bar for the dragged widget
Start editing widgets
To edit any widget, you need to hover on that widget. After hovering, you will be able to see the edit, delete and clone icons.
To edit widget properties and styles, you need to click on the pencil icon. After clicking on the pencil icon, you will be able to see a properties bar on the left side. You can change the widget properties and styles as you require.
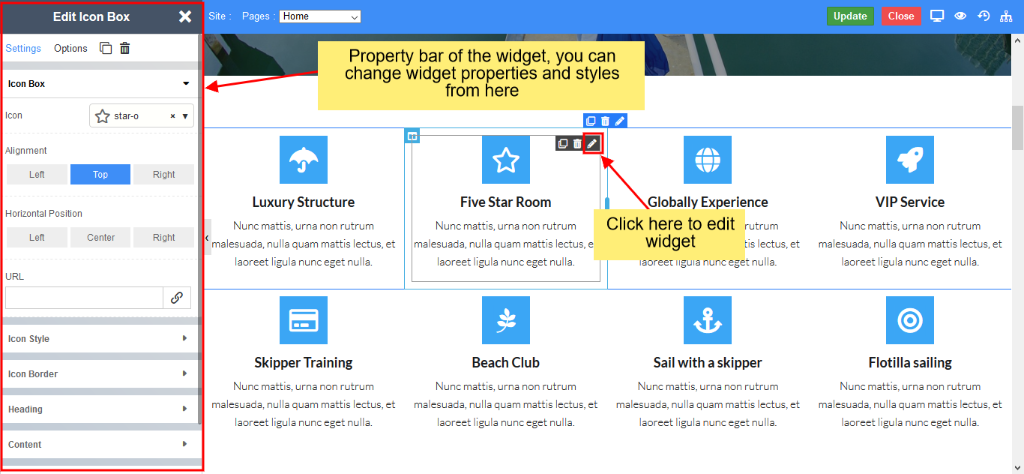
You can select from a different range of 65+ Widgets.
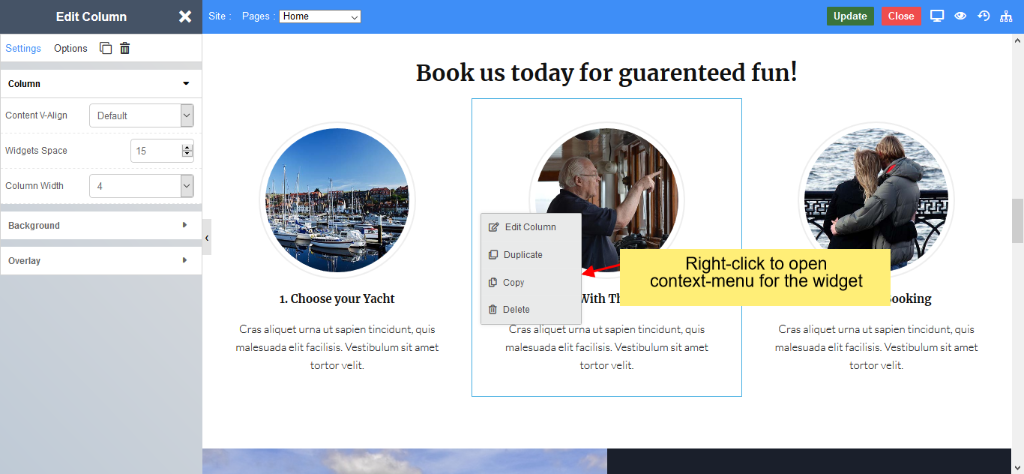
Edit, Duplicate, Copy, Delete a widget
Right-click on the widget to see more options like edit, duplicate, copy, delete, etc.
Update page
After you Finish Editing your work, you can update your Page Changes.
You can find these Finishing Option in the upper right corner of the editor.

After you click on the Update button, you will see alter of save successfully.
Once you logout and back in you'll the see the websites listed and the option to see the website, edit settings, or log back in to make changes.